Washi Tape Greeting Cards: Five Simple Designs
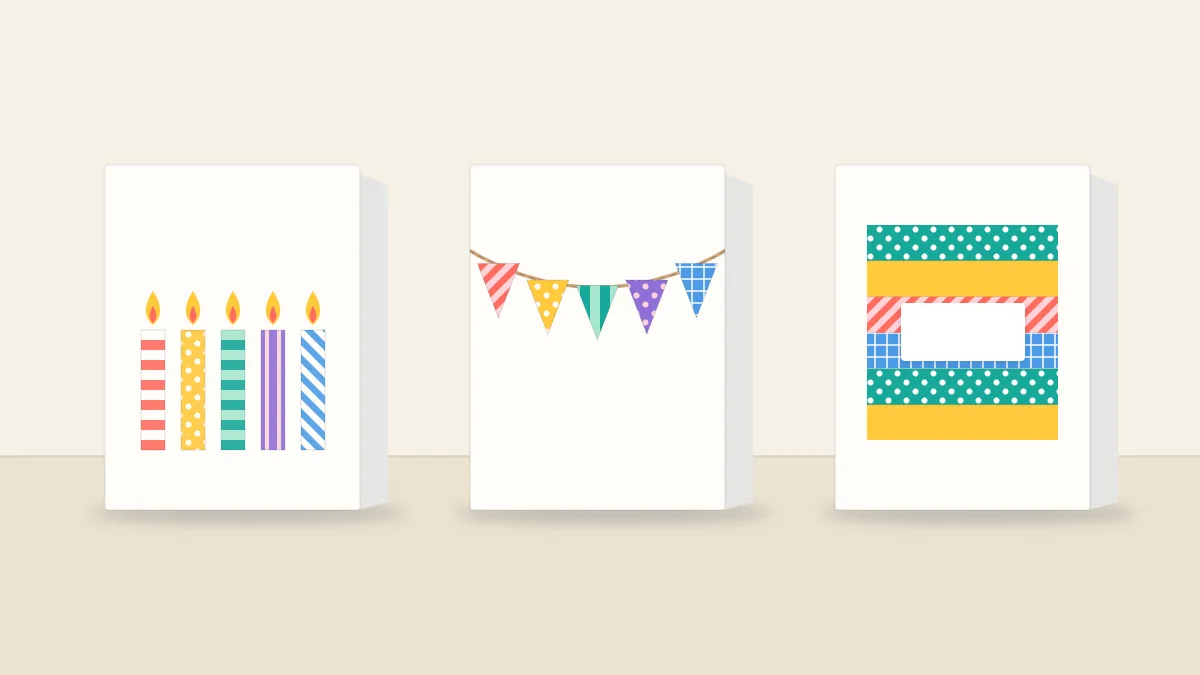
Five all-occasion card fronts made only from straight strips of washi tape: candles, a stack of presents, bunting flags, a heart mosaic and a striped panel, with the shared method for neat edges.
Tutorial at a glance
Materials
- Folded blank cards, A2 or A6 size
- White cardstock for the striped panel and label
- Scrap paper for planning and the heart mask
- Baking parchment as a backing for small cut shapes
- Glue stick
Washi tape cards suit anyone who wants to send something handmade without drawing a picture. Every design below is built from straight strips on a folded blank, and the only freehand marks are a few small flames and one curved line of string.
Start with a folded blank and a small kit
In the US, the usual handmade card is the A2 size: 4.25 x 5.5 in (10.8 x 14 cm) when folded, cut from half a letter sheet of cardstock. Elsewhere, A6 (105 x 148 mm, half an A4 sheet folded) is the close equivalent. Both fit standard envelope sizes, which matters more than the exact measurement.
Pick smooth, uncoated cardstock in white, cream or kraft. Glossy and heavily textured cards give the adhesive less to grip. Score the fold line with a bone folder or the back of a butter knife before folding so the spine does not crack.
- Two or three 15 mm tapes and one slim tape, about 5 mm
- Scissors, a ruler and a soft pencil with an eraser
- A craft knife and a self-healing cutting mat
- A permanent fine marker for flames, strings and greetings
- Scrap paper and a glue stick
Four habits that make every design neater
- Plan on scrap. Lay the strips on a piece of scrap paper cut to the size of the card front. Tape colors change against the paper, and spacing is easier to judge at full size.
- Mark light guides. A faint pencil baseline or center line is enough. Erase what still shows before the tape goes down, because washi is slightly translucent and pencil can show through pale rolls.
- Apply long, then trim. Where a strip meets the card edge, let it run past by a little. Open the card flat, face down on the mat, and trim the overhang with the knife using the card edge as your guide. The page on cutting washi tape cleanly covers knife and scissor technique in detail.
- Burnish. Lay each strip down from one end without stretching it, then rub it firmly with a fingernail or the back of a spoon, paying attention to the ends.
Watch out
A craft knife needs a cutting mat underneath and adult hands on the handle. Put a scrap of card inside the fold if you ever cut on a closed card, so the blade cannot reach the back panel.
Design 1: a row of candles
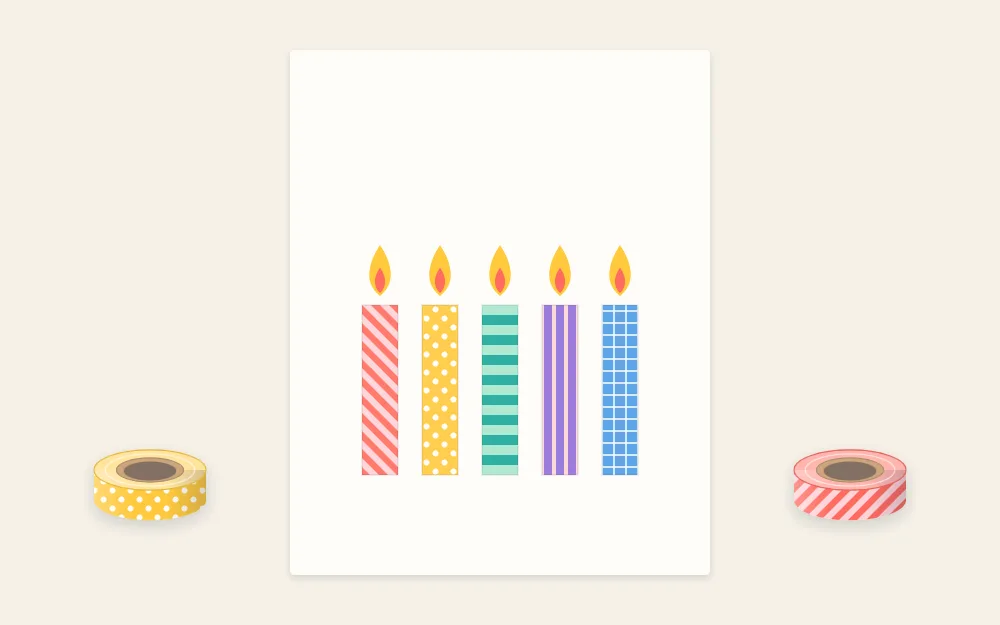
Turn the card to landscape. Draw a pencil baseline about 1 in (2.5 cm) above the bottom edge. Cut five strips of 15 mm tape in different lengths, between roughly 1.5 and 2.5 in (4 to 6 cm), and stand them on the baseline with gaps of about 1/4 in (6 mm).
Above each strip, draw a short wick and a small teardrop flame with the marker. If you would rather not draw, stick a short piece of yellow or orange tape onto baking parchment, cut small teardrops with scissors, peel them off and place them. A slim strip under the baseline turns the row into candles on a cake.
Design 2: a stack of presents
Keep the card in portrait. Each present is a block of strips laid edge to edge, so you can build large rectangles from ordinary 15 mm tape:
- Bottom box: three strips, each about 2.5 in (6.5 cm) long
- Middle box: two strips, about 1.75 in (4.5 cm) long, in a second tape
- Top box: two strips, about 1 in (2.5 cm) long, in a third tape
Center each block on a faint vertical pencil line, working from the bottom up. Then run a slim contrasting tape down the middle of each box as the ribbon. Add a second slim strip across the bottom box if you want a full cross. Two tiny slim pieces angled outward at the top make the bow.
Design 3: a line of bunting flags
Draw a shallow sagging curve across the upper third of the card with the marker. Stick a strip of tape onto baking parchment and cut it into triangles with alternating diagonal cuts, so each flag has a flat top the width of the tape and comes to a point. The method for cutting a strip into a row of triangles is explained step by step with the other geometric patterns.
Peel each flag and hang it from the drawn string with its flat edge touching the line. Alternate two or three tapes and leave a sliver of space between flags. The area below stays free for a handwritten greeting.
Design 4: a heart mosaic cut through a mask
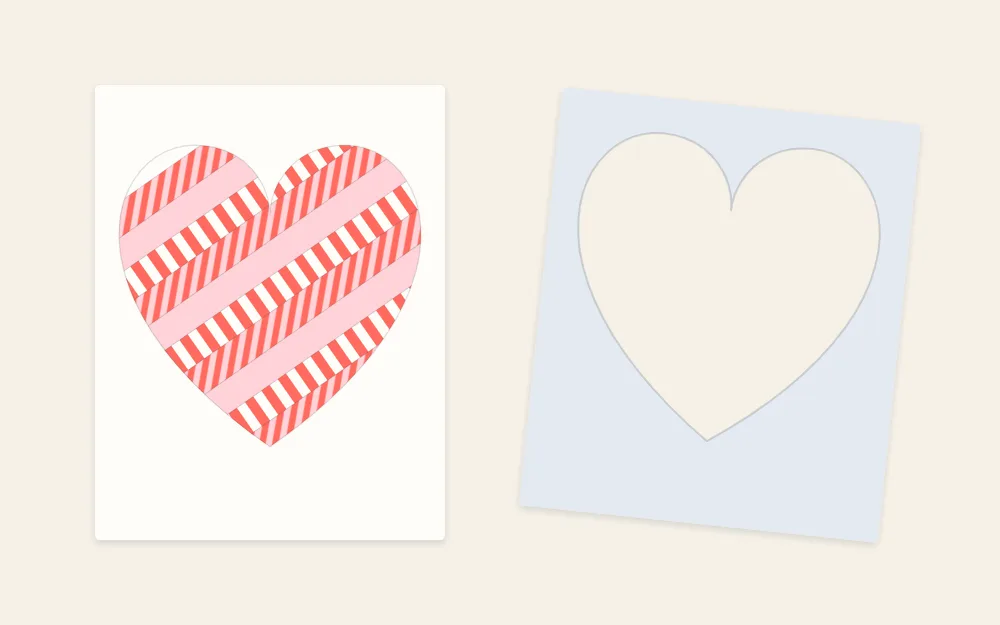
This one looks intricate, yet the mask does the shaping.
- Fold a piece of scrap paper in half and cut half a heart on the fold. Open it out. The sheet with the heart-shaped hole is your mask.
- Hold the mask on the card front and trace the opening lightly in pencil. Lift the mask away.
- Cover the traced area with diagonal strips, edge to edge or with hairline gaps, running each strip well past the pencil line.
- Reposition the mask and hold it flat. Trace around the opening with the knife using light pressure, enough to cut the tape but not to score deeply into the card.
- Remove the mask and slowly peel away the tape outside the cut, pulling at a low angle. Burnish the heart that remains.
Design 5: a striped panel with a blank label
This design needs no knife. Cut a panel of white cardstock about 3 x 4.25 in (7.5 x 10.8 cm). Cover it with horizontal strips, either touching or with even gaps, and wrap each end around to the back of the panel. Glue the panel to the center of the card front.
Cut a small rectangle of plain cardstock, about 2 x 3/4 in (5 x 2 cm), and glue it across the stripes as a label. Write the greeting on the label rather than on the tape, where most inks stay wet and smear.
Finishing the inside and the envelope
A single strip along the bottom of the inside panel, in one of the tapes from the front, ties the card together without crowding the message. Press every tape end down once more before the card goes in its envelope.
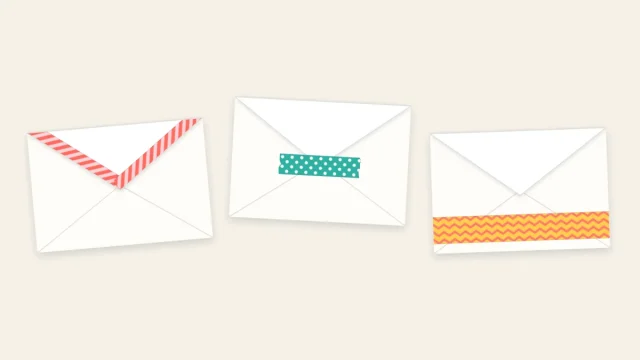
A plain envelope can carry the same tapes on its flap or back. The guide to decorating envelopes with washi tape covers the placements that keep the address and postage areas clear.
Frequently asked questions
Does washi tape stay stuck on a greeting card?
On smooth, uncoated cardstock it usually holds well for a flat card that is handled gently. Press every strip down firmly, especially the ends, and avoid stretching the tape as you lay it. Glossy, glittered or heavily textured card gives the adhesive less grip, so strips there are more likely to lift.
Can you write on washi tape on a card?
Yes, with an oil- or alcohol-based fine marker, and give the ink a minute or so to dry before touching it. Water-based and gel pens tend to bead and smear on the tape surface. For a longer greeting it is easier to leave a blank area of cardstock or glue on a small paper label.
What size card is easiest for washi tape designs?
A folded A2 card, 4.25 x 5.5 inches, or an A6 card is a comfortable size. A row of five 15 mm strips fits across the front with room to spare, and matching envelopes are easy to find. Larger cards need more strips and show small spacing errors more clearly.