Washi Tape Boxes: How to Decorate Small Gift Boxes
Three small-box projects with washi tape: a striped lid, a band that doubles as a light seal, and a tiny wrapped drawer box, plus the slit-and-fold method for taking tape around corners.

Tutorial at a glance
Materials
- Small uncoated cardboard box with a lift-off lid
- Flat or one-piece folded gift box
- Empty matchbox-style sliding drawer box
- Twine for a drawer pull
- Tissue paper for lining
A small rigid box gives tape something that wrapping paper never does: hard edges and firm corners to work against. That makes washi tape boxes neater than taped parcels, as long as you know what to do when a strip reaches a corner. The three projects here cover a lidded box, a banded box with a tape closure, and a tiny sliding drawer box for jewelry, seeds or folded notes.
Boxes that take tape well, and boxes that do not
Plain kraft, white and other uncoated cardboard boxes are the right starting point. The slightly rough paper surface gives the low-tack adhesive plenty to hold.
Glossy laminated boxes are harder. Tape slides on the coating and the ends tend to lift, so on those boxes keep strips long, wrap ends around an edge wherever you can, and press firmly. Flocked, glittered and fabric-covered boxes are not worth attempting.
Wipe any box with a dry cloth first to remove cardboard dust.
How to take tape around a corner
When a strip runs along an edge and needs to fold down two sides at a corner, it cannot bend both ways at once. Cut a slit in the overhanging tape exactly at the corner, from the tape’s outer edge up to the corner point. Fold one side down and press it. Then fold the other side down over it. The small overlap sits flat, and the corner stays square instead of bunching into a point.
Scissors are the easiest tool for the slit. If you use a craft knife, work on a cutting mat and cut away from the box, not into it.
Tip
Fold the less visible side first. The second fold ends up on top, so its edge is the one people see.
Project one: a striped lid
This suits a square or rectangular box with a separate lift-off lid.
- Measure across the lid and down both sides. Cut each strip that length plus about 3/4 in (2 cm), so there is enough to fold inside the rim at both ends.
- Find the center of the lid and lay the first strip across it, parallel to one pair of sides. Smooth it from the middle of the top outward, then down each side.
- Fold the ends over the rim to the inside of the lid and press. Tape folded inside holds much better than tape trimmed at the rim, because the end is no longer exposed to rubbing.
- Add strips on each side of the first, working outward. Use a spare strip as a spacer for even gaps, or butt the strips edge to edge for full coverage.
- Check the last strip on each side. If it would overhang the lid edge, either adjust the gaps before you reach it or let it wrap onto the adjacent side, slitting it at the two corners and folding one side at a time.

If the lid fits tightly, tape folded inside the rim can make it stiff to close. In that case trim the ends flush with the bottom edge of the rim using scissors and burnish them well.
Project two: a band that doubles as a seal
For a flat box, a one-piece folded box or a box with a hinged lid, a band is quicker than stripes and also holds the box shut for handing over.
Close the box. Start a strip of wide or 15 mm tape on the underside, bring it up one side, across the top, down the other side and back under until it overlaps its own start by about 3/4 in (2 cm). Press along every edge of the box as you go so the tape sits tight in the corners instead of spanning them.
Then build on that band. A slim tape run along one or both edges of the wide one, or a second band crossing the first at a right angle, makes the box look finished. Pale tape over a dark one lets the lower pattern show through, which is covered in the guide to overlapping tape strips cleanly.
The band is a light seal for a box carried by hand. It will not keep a heavy lid closed. For a box that needs to stay shut in a bag, put a small piece of ordinary clear tape at the lid line first and run the washi band over it.
Project three: a tiny drawer box
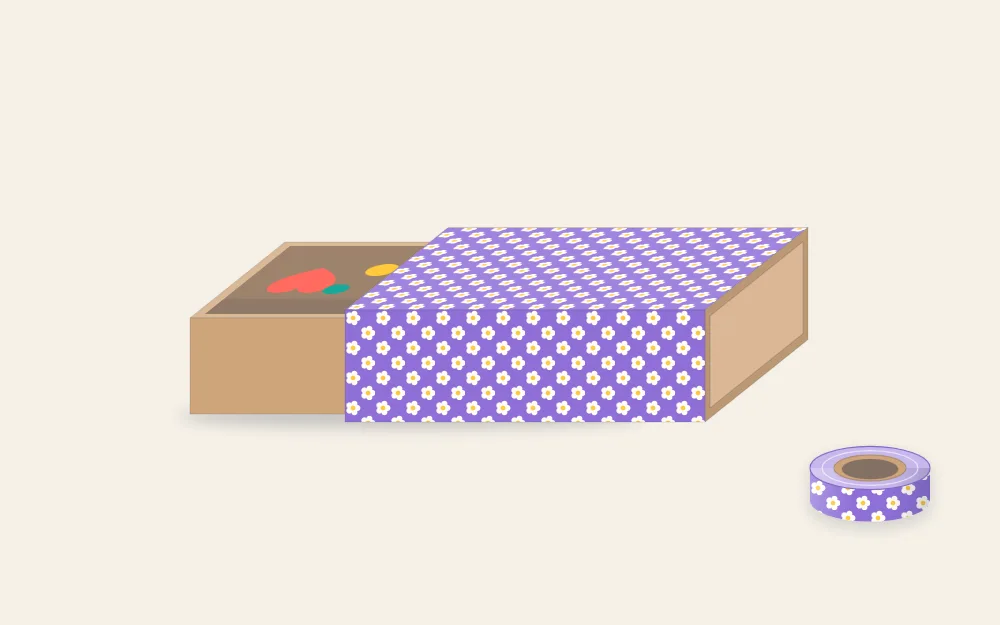
An empty matchbox-style box has two parts: an outer sleeve and an inner drawer that slides through it. Only the sleeve gets taped, which keeps the drawer moving freely.
- Slide the drawer out and set it aside. Rough striking strips on the narrow sides show through plain tape, so choose a patterned one.
- Measure around the sleeve and cut strips that length plus about 3/8 in (1 cm) for overlap.
- Start the first strip on the underside of the sleeve, aligned with one open end, and wrap it around all four faces, creasing it over each edge with a fingernail.
- Wrap further strips beside it until the sleeve is covered. If the last strip overhangs the open end, trim it flush with scissors. Do not fold it inside, or the drawer will jam.
- Slide the drawer back in. For a pull, fold a short piece of tape in half around a loop of twine and stick the ends inside the front of the drawer.
Line the drawer with a scrap of tissue paper before adding the gift.
Finishing touches and what to avoid
- Add a tag. A box this small has no room for a name. Tie on a tag made with the same tape; the method is in the guide to making washi tape gift tags.
- Keep to two or three tapes. One pattern, one solid and one slim accent is plenty on a surface this size.
- Do not stretch tape around edges. Pulled tape shrinks back within hours and lifts exactly at the corners.
- Mind what is inside. For edible gifts, wrap the food separately so it does not touch taped surfaces, and keep tape on the outside of the box.
Soft or oddly shaped presents need paper, not a box. For those, see the ideas for dressing up plain wrapping paper with tape.
Frequently asked questions
Does washi tape stick to cardboard boxes?
It grips plain kraft, white and other uncoated cardboard well once the surface is wiped free of dust and the tape is pressed down firmly. Glossy laminated boxes are less reliable, and strips often lift at the ends. On those, wrap the ends around an edge or to the inside where possible.
How do you stop tape from bunching at box corners?
Cut a slit in the overhanging tape exactly at the corner, running from the outer edge of the tape to the corner point. Fold one side down and press it, then fold the other side over the top. The two flaps overlap flat instead of gathering into a lump.
Can washi tape hold a gift box closed?
Only lightly. A band wrapped all the way around and overlapped underneath keeps a small box shut while you carry and hand it over, but the adhesive is low-tack and will not hold a heavy lid or a box that is shaken around. Add a small piece of clear tape under the band if it needs a firmer hold.

