Common Washi Tape Mistakes and How to Fix Them
Ten common problems with their causes and fixes: tape that will not stick or lifts later, wrinkles, crooked lines, show-through, torn paper, residue and cluttered designs.

Most washi tape mistakes come from asking a gentle, low-tack paper tape to behave like a strong one, or from applying it in a hurry. Nearly all of them are reversible: the same weak adhesive that causes the trouble also lets you lift the strip and try again.
Find your problem in the table, then read the matching section for the reason behind the fix.
Ten problems at a glance
| Problem | Likely cause | Fix |
|---|---|---|
| Will not stick at all | Dusty, oily, cold or textured surface | Clean, dry and warm the surface; choose a smoother one |
| Lifts after a day | Tape stretched, tight curve, ends not pressed | Lay without tension; burnish the ends |
| Wrinkles and bubbles | Long strip set down all at once | Anchor one end and smooth along; work in shorter lengths |
| Crooked lines | No guide | Pencil marks, a ruler or the page grid |
| Ragged ends | Blunt or sticky blades, careless tearing | Clean scissors; tear against a hard edge |
| Pattern shows through | Tape is translucent | Put white underneath |
| Paper tears on removal | Fast, steep peel on thin paper | Peel slowly at a low angle; warm gently |
| Sticky residue | Old tape, heat or long contact | Dab with fresh tape; rub with a soft eraser |
| Things fall down | Tape used as a fastener | Use putty, glue or stronger tape for the hold |
| Looks messy | Too many patterns together | One pattern, one simple support, one solid |
When the tape will not hold
1. It will not stick in the first place
The adhesive needs full contact with a clean, smooth surface. Dust, hand oils, furniture polish, a damp film or a deep texture all get in the way, and a cold surface stiffens the adhesive so it cannot settle. Wipe the surface with a dry cloth, or with a little rubbing alcohol on glass and metal, let it dry and bring it to room temperature. Rough wood, canvas, brick and heavily textured paper may never give a good grip; why that is so is part of how the material and its adhesive behave.
2. It sticks, then lifts a day later
Delayed lifting usually means the tape was pulled tight as it went down. Paper tape stretches a little and then slowly shrinks back, dragging its own ends loose. Unroll the length you need first, let it relax, then lay it down without tension.
Tight curves cause the same result, because a flat strip wants to straighten. Use slimmer tape or shorter pieces on curves. In every case, burnish the last half inch of each end with a fingernail or the back of a spoon, since ends are where lifting starts.

3. It was expected to carry weight
Washi tape decorates; it does not fasten. A postcard or a sheet of paper is about its limit on a wall, and even that depends on the surface. For a print in a frame-style outline, hold the print with removable mounting putty and let the tape be the decoration around it.
When it looks untidy
4. Wrinkles and bubbles
A long strip lowered onto the page all at once traps air and creases. Instead, press down the first half inch, hold the rest slightly raised, and smooth forward with a thumb a little at a time. For anything longer than your forearm, work in sections or use two strips with a small overlap.
5. Crooked lines
The eye is very good at spotting a strip that is two degrees off. Give yourself a guide before you start: two light pencil dots, the edge of a ruler held on the page, or the printed grid or dots of a notebook. Align one edge of the tape to the guide rather than trying to center the strip on it.
6. Ragged or sticky cuts
A tear made in mid-air comes out diagonal and stretched. Tear against a hard edge instead. Scissors gum up with adhesive and start to chew the tape; wipe the blades with rubbing alcohol on a cloth. The full comparison of tearing, scissors and knife work is in the guide to cutting clean ends and exact lengths.
7. The pattern underneath shows through
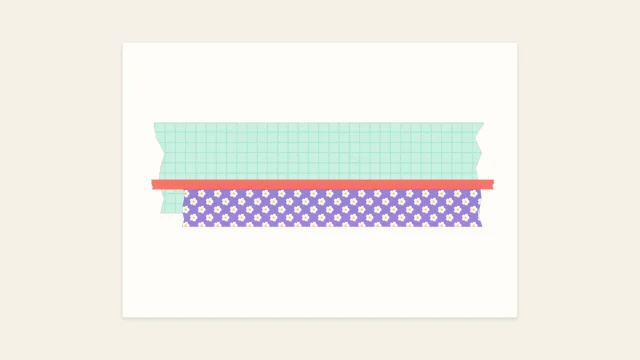
Washi is slightly translucent. Dark paper, printed text, pencil lines and darker tapes all read through a pale strip. Lay a strip of plain white tape or a sliver of white paper underneath, then put the pale tape on top.
8. Too many patterns at once
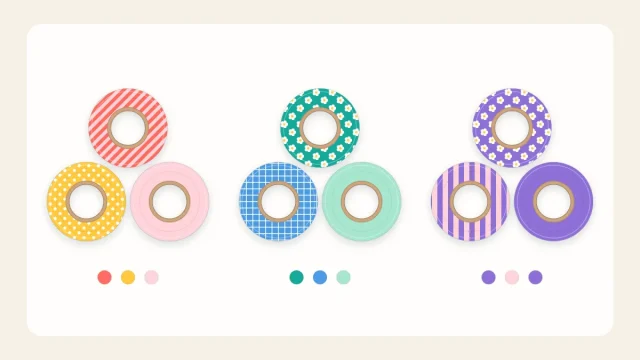
Five busy tapes on one page compete with each other. Pull the design back to one lead pattern, one simple supporting pattern such as a stripe or dot, and one solid that repeats a color from the lead.
When it comes off badly
9. The paper tears when you peel
Thin, soft or coated papers can give way before the adhesive does: newsprint, tissue, some planner pages, old book pages and glossy photo surfaces. Change the angle and the speed. Fold the lifted end back on itself so it lies almost flat against the page, and pull slowly along the surface instead of up and away from it. Hold the paper down with your other hand close to the peel line.

If a strip resists, a few seconds of warm air from a hair dryer on its lowest setting, held well back and kept moving, softens the adhesive.
Watch out
Painted walls are a separate case. Tape can take paint with it, especially fresh, flaking or low-quality paint. Test a hidden patch for a few days, and read the cautions for applying and removing tape on walls before a large design.
10. Sticky residue is left behind
Residue is uncommon, but it happens with old rolls, with tape left in place for a long time, and on surfaces that sat in sun or near heat. Start with the mildest fix: press a fresh piece of tape onto the residue and lift it off repeatedly, so the adhesive picks up its own traces. On paper, roll a soft white eraser gently over the spot. On glass or metal, a cloth with a little rubbing alcohol clears it; try a hidden spot first on plastic or finished wood, since solvents can dull some finishes.
Habits that prevent most of these
- Test a short strip on any new surface before committing to a design.
- Lay tape without stretching it, from one end to the other.
- Peel slowly and low when anything has to come off.
Frequently asked questions
Why does washi tape keep peeling off?
The usual causes are a dusty, oily, cold or textured surface, tape that was stretched as it was applied, or ends that were never pressed down firmly. Clean and dry the surface, lay the strip without pulling it, and burnish the ends. An old roll stored in heat or sun can also lose tack.
How can washi tape be removed without tearing the page?
Lift one end, fold it back so it lies nearly flat against the paper, and pull slowly along the surface while holding the page down near the peel line. A few seconds of warm air from a hair dryer on low can soften a stubborn strip. On very thin paper, consider leaving the strip in place.
Can washi tape be made to stick better?
Preparation and pressure help most: a clean smooth surface, room temperature, no stretching and firm burnishing. For a lasting hold on a paper project, a thin line of glue stick under the ends works. If the job needs real strength, washi is the wrong tape; use a stronger one for the hold and washi on top.