Washi Tape Fall Crafts: Leaf Garland, Pumpkins and Warm Colors
An autumn palette from rolls you already own, then three projects built on it: a striped leaf garland on twine, taped pumpkins for indoor display and a banded jar, plus plaid place cards.
Tutorial at a glance
Materials
- Cardstock, letter or A4 size
- Scrap paper for a leaf template
- Twine
- Small smooth-skinned pumpkins, real or craft foam
- Clean glass jar with dried stems or battery-operated lights
Autumn decorating suits tape well, because the season is mostly about color: a few warm rolls on plain paper, twine and a pumpkin are enough to change a shelf. These washi tape fall crafts use the same small palette throughout, so the garland, the pumpkins and the jar look like one display instead of three separate projects.
Build a fall palette from rolls you own
You probably do not need new tape. Look through your rolls for these colors:
- Warm leads: mustard yellow, rust or burnt orange, deep red
- Grounding colors: brown, forest green
- A pale relief: cream or off-white
- One pattern: a plaid, a small dot or a narrow stripe in any of the colors above
Four or five rolls from that list are plenty. Solids do most of the work here; the single pattern is what keeps the set from looking flat. If your only orange is a bright, summery one, pair it with brown and cream rather than red, and it will read as autumn.
What to gather
- Cardstock, one or two letter-size or A4 sheets
- Scrap paper for a leaf template
- Twine, about 5 ft (1.5 m) for a mantel-length garland
- Small pumpkins, real or craft foam, with smooth skin
- A clean, dry glass jar and a few dried stems or a string of battery-operated lights
- Scissors, a pencil, a ruler, a hole punch and a dry cloth
Leaf garland from a striped sheet
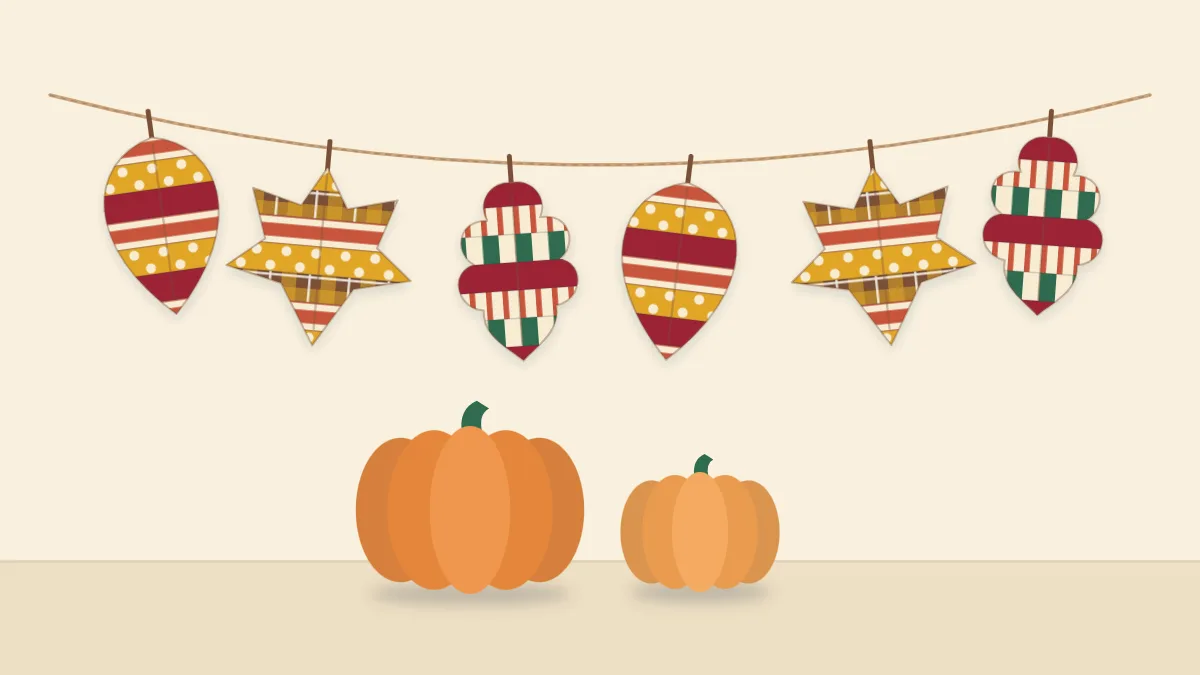
Taping individual leaves is slow. Covering a whole sheet first and cutting the leaves from it is quicker and gives every leaf a different slice of the stripes.
Draw a simple leaf template
Fold a piece of scrap paper in half. Starting and ending on the fold, draw half of a pointed oval about 3 in (7.5 cm) long and 1 in (2.5 cm) wide at its widest. Cut it out and unfold it: both sides match. For a second shape, draw the same half-oval with two or three shallow scallops along the outer edge. Keep the shapes plain, since narrow points and deep notches make taped cardstock split.
Stripe, cut and string
- Lay strips across the cardstock on a slight diagonal, edge to edge, alternating colors and letting each strip run off both sides. Overlap neighbors by about a millimeter so no card shows.
- Burnish the whole sheet with the back of a spoon, then trim the overhanging ends.
- Turn the sheet over, trace the template on the back with a pencil and fit the leaves close together. Turn the template to different angles so the stripes vary from leaf to leaf.
- Cut out the leaves with scissors, cutting from the back so you can follow the line.
- Punch a hole near the stem end of each leaf. For a center vein, fold each leaf lightly in half lengthwise and open it again.
- Thread the leaves onto twine, knotting the twine at each hole or leaving them free to slide.

The same leaves, scattered loose down a table or tied to napkins, work for a seasonal dinner alongside the picks and place cards in the guide to small-scale party table decorations.
Taped pumpkins
A pumpkin already has guide lines: the shallow grooves that run from stem to base. Tape laid along those grooves follows the natural shape and needs no measuring.
- Choose a small pumpkin with smooth, firm, unblemished skin. Wipe it with a dry cloth and make sure it is fully dry and at room temperature.
- Cut a strip a little longer than the distance from stem to base.
- Press one end against the base of the stem and smooth the strip down a groove with your thumb, letting it follow the curve without pulling.
- Tuck the end under the pumpkin and press it flat.
- Repeat in every groove, or in every other groove, alternating two or three tapes.

Slim tape, about 5 to 7 mm, sits in the grooves most easily. A 15 mm strip works on larger pumpkins but may pleat near the stem and base where the curve tightens; a few small pleats pressed flat are not noticeable from a step away.
Watch out
Taped pumpkins are for dry, indoor display. Tape lifts from damp, waxy, dusty or bumpy skin, and it will not last on a porch or on a pumpkin that has started to soften. Never tape a pumpkin that will hold a lit candle.
A banded jar for stems or lights
A straight-sided jar with three bands of tape near the base makes a quick vase for dried grasses, seed heads or bare twigs. Wrap each band level, overlap its ends by about 1/4 in (6 mm) at the back, and leave a narrow gap of clear glass between bands.
For a glow, fill the jar with a short string of battery-operated LED lights instead of stems and leave more glass uncovered. Do not use a real candle or tea light: tape and heat do not mix. Glass needs careful cleaning before tape will grip, and that preparation is covered step by step in the tutorial on decorating glass jars for storage and display.
A quick extra: tape-plaid place cards
Fold a 3.5 x 4 in (9 x 10 cm) piece of cream cardstock in half to stand as a tent. Along the bottom of the front, lay two strips of a pale 15 mm tape side by side. Cross them with three or four vertical strips of slim tape in a darker color, evenly spaced. Because the tape is slightly translucent, the crossings look darker, which is what gives the plaid effect. Wrap all the ends to the back, and write the name on the bare card above.
Displaying and storing the set
- Hang the garland with removable mounting putty or loop the twine over existing hooks. It is light, but tape alone is not a reliable way to hold it up.
- Keep everything away from fireplaces, heaters, candles and hot bulbs.
- At the end of the season, lay the garland flat between two sheets of paper in a folder. Compost real pumpkins only after peeling the tape off.
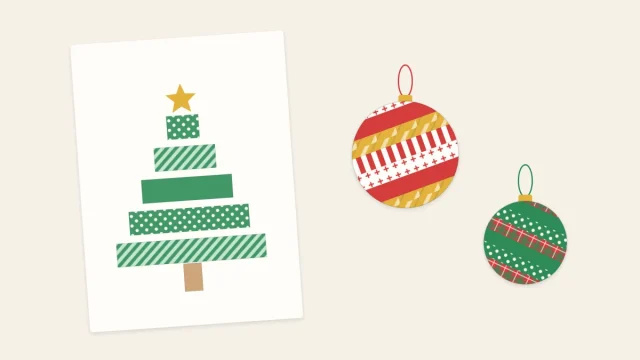
- The striped-sheet method carries straight over to winter shapes: swap the palette to red, green and white and cut stars or circles, as described in the guide to Christmas ornaments, tree cards and gift trim.
Frequently asked questions
Does washi tape stick to a real pumpkin?
It holds on smooth, clean, fully dry skin at room temperature, well enough for an indoor display. It lifts from damp, waxy, dusty or warty skin, and from pumpkins kept outside. Press the ends firmly at the stem and under the base, and expect to smooth a few down again as the weeks pass.
What colors make a fall palette without any orange tape?
Orange is optional. Mustard, deep red, brown, forest green and cream together read clearly as autumn, especially on kraft paper. Even two warm solids with one plaid or dot in the same colors are enough. Avoid bright pastels and cool blues, which pull the set toward spring or winter.
Can the leaf garland be reused next year?
Yes, if it stays dry and flat. Slide it between two sheets of paper inside a folder or a shallow box, and keep it away from heat and sunlight, which fade the print and dry the adhesive. Press down any lifted strip ends with a fingernail before hanging it again.