Washi Tape Desk Organizers: Decorating Cans, Trays and Pen Cups
Turn a tin can, a box lid and a small carton into a matching desk set with three rolls of tape. Covers rim safety, vertical strips on ribbed cans and tidy corners on cardboard.

Tutorial at a glance
Materials
- Clean, dry tin can with the label removed
- Shallow cardboard tray or box lid
- Small cardboard box for notes
- Plain white paper and a glue stick
- Cardboard tubes, optional
A washi tape organizer set starts with containers you already have: an empty tin can, the lid of a shoebox, a small carton that held tea or soap. Covered in the same two or three tapes, they stop looking like recycling and start looking like a set that was bought together.
The three pieces here are a pen cup, a shallow tray for clips and a note box. Each one teaches a slightly different way of handling tape: around a cylinder, over a rim and around a corner.
Pick one palette before you pick containers
What makes mismatched containers read as a set is repetition. Choose three rolls and use only those on every piece:
- A lead tape, 15 mm wide, with a pattern you like.
- A solid in a color taken from that pattern.
- A slim tape, about 5 mm, for rims and thin accent lines.
Then vary the proportions rather than the tapes. The pen cup can be mostly pattern with a solid rim, the tray mostly solid with a patterned rim, and the note box a mix of both.
What to gather
- A clean, dry tin can with the label and glue removed
- A shallow cardboard tray or box lid, about 1 in (2.5 cm) deep
- A small cardboard box, roughly 3.5 in (9 cm) square, for notes
- Plain paper and a glue stick, if you want to line the can or cover printed cardboard
- Scissors, a ruler, a pencil and a metal file or sandpaper
Washi tape is slightly translucent, so dark lettering shows through pale rolls. Either choose plain kraft or white boxes, or glue a layer of white paper over the print first and let it dry.
Make the tin can safe and smooth
Run a fingertip carefully around the inside of the rim. If the can opener left a sharp or jagged edge, smooth it with a metal file or folded sandpaper, wipe away the dust, and plan to fold tape over the rim as well. A can with a rim that still feels sharp after filing belongs in the recycling, not on a desk.
Wash off any label glue, dry the can completely and wipe the metal with a little rubbing alcohol on a cloth. Tape lifts from oily or damp metal, so this step decides how long the finish lasts.
Watch out
Check the cut rim before a child handles the can. Filing and taping reduce the edge but do not make every can suitable for small hands.
Cover the pen cup with vertical strips
Most cans have ribs running around the middle. A horizontal band has to follow those ridges all the way around and tends to wander or wrinkle. A vertical strip only crosses each rib once, so it lies much flatter.
- Decide which side is the back. That is where the first and last strips will meet.
- Cut a strip about 1 in (2.5 cm) longer than the can is tall. Start it just under the base rim, at the back, and smooth it upward with a thumb, pressing it into each rib as you go.
- Fold the extra over the top rim and press it down inside the can.
- Lay the next strip beside it, overlapping the first by a hair so no metal shows. Do not pull the tape tight: stretched tape shrinks back and lifts at the ribs.
- Work around the can. When you reach the back again, let the last strip overlap the first rather than trimming it to fit.
- Run a slim tape around the top edge to tie the folded ends together, then burnish the whole surface with the back of a spoon.

If your tapes are pale and the metal dulls them, wrap the can in a sheet of white paper first, glued along the seam, and tape over that. Smooth, straight-sided glass works differently again; the method for decorating glass jars with tape bands covers it.
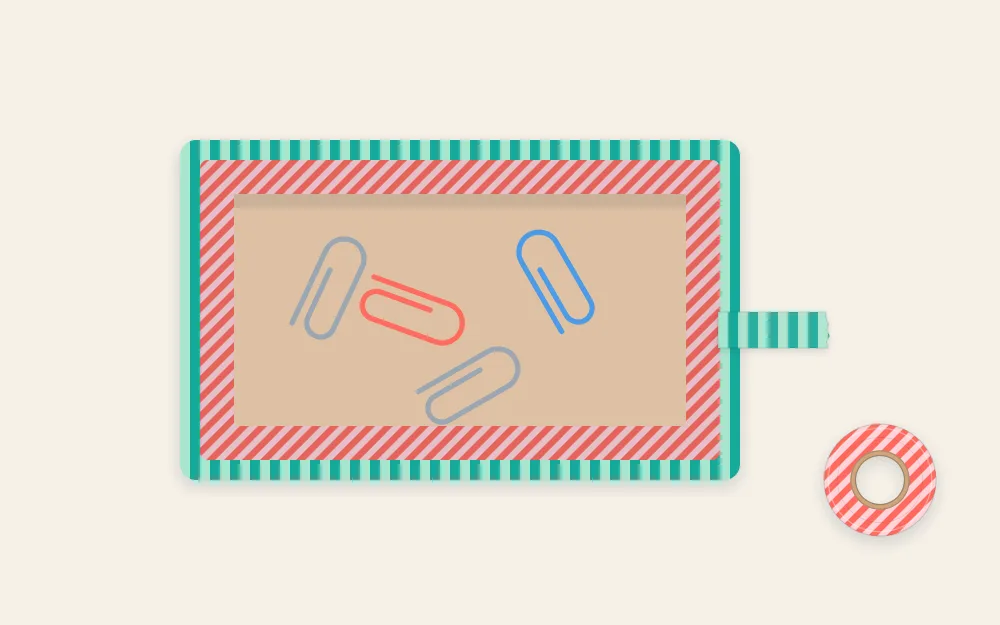
Wrap the rim of a clip tray
A box lid or shallow tray gets most of its wear on the top edge, so that is where the tape goes.
- Cut a strip a little longer than one side of the tray.
- Center the strip lengthwise on the rim so half its width hangs outside and half inside, then fold both halves down and press.
- At each corner, snip the tape down to the rim, fold one flap flat around the corner, and lay the next side’s strip over it.
- For a lined look, run one more strip along the inside wall, just below the rim, on all four sides.
- Cover the outside walls with your solid tape, or leave the plain cardboard showing if it is clean.
Turn a small box into a note holder
Cut the top flaps off a small carton, or cut the box down so a stack of note squares stands about a third above the edge. A dipped front, cut in a shallow curve with scissors, makes the top sheet easier to pinch.
Cover the walls with horizontal strips, starting at the base. Begin and end each strip on the back wall, and wrap it around the corners without stretching. Finish the cut top edge the same way as the tray rim, snipping the tape at every corner. On the curved dip, use the slim tape, which bends around a gentle curve where a 15 mm strip would pleat.
Sorters from cardboard tubes
Cardboard tubes extend the set for almost nothing. Wrap each tube in tape, spiraling at a steady angle or using vertical strips, then stand several upright in a tray or box to separate pencils from markers. Laid on their sides in a drawer, short tube sections keep coiled cables apart. A strip of solid tape on each tube also gives you somewhere to write, and the guide to writing removable tape labels explains which pens stay put.
Keeping the set looking good
- Dust with a dry cloth. Tape is not waterproof, so do not wash the pieces.
- Keep the set out of direct sun and away from heaters, which dry out the adhesive and fade the print.
- If an end lifts, press it back and burnish it. If it lifts again, peel that one strip and replace it; the rest can stay.
With rolls left over, carry the palette onto the stationery itself by decorating a notebook cover to match.
Frequently asked questions
Does washi tape stick to a tin can?
It holds reasonably well on clean, dry, smooth metal. Remove all label glue, wipe the can with rubbing alcohol and let it dry before taping. Ribs are the weak point, so press the tape into each ridge and burnish it. Expect to replace a strip now and then on a can that is handled daily.
Should the strips go vertically or horizontally on a ribbed can?
Vertical strips are easier. Each one crosses a rib only once and can be pressed into the groove, while a horizontal band has to follow the ridge all the way around and tends to wrinkle or drift. Horizontal bands suit smooth cans without ribs, or the flat zones above and below the ribbed section.
How can printed cardboard be kept from showing through the tape?
Washi tape is slightly translucent, so dark print shows through pale rolls. Glue a sheet of white paper over the printed surface with a glue stick, let it dry, then tape on top. Darker or more densely patterned tapes also hide print better, and a second layer of the same tape helps on small areas.