Washi Tape Wall Decor: Removable Designs and How to Apply Them
How to test a wall before taping, apply long straight strips, and build four removable designs: a mountain line, a faux headboard, a photo grid and a door or shelf outline.
Tutorial at a glance
Materials
- A smooth painted wall with sound, fully cured paint
- Removable mounting putty for prints
- Lightweight prints or photos, optional
Washi tape wall decor appeals for one reason above all: it is meant to come off again. The low-tack adhesive is gentle on many painted walls, which makes it a common choice for rentals, dorm rooms and children’s rooms. Gentle is not the same as risk-free, though. No tape can promise to leave every paint job untouched, and the wall matters as much as the tape.
So this page starts with the caution and the test, then moves on to the method and four designs made from straight lines.
Will washi tape damage paint?
On sound, fully cured, smooth paint it usually peels away cleanly. The trouble comes when the bond between tape and paint is stronger than the bond between paint and wall. That is more likely on:
- Fresh paint. Paint can feel dry within hours but take weeks to harden fully. Follow the curing time on the paint can before taping.
- Flaking, chalky or poorly primed paint. If paint already comes off on a fingernail, tape will take it too.
- Wallpaper. The printed surface can tear or lift with the tape. Leave it bare.
- Textured walls. Tape touches only the high points, so it sags and falls instead of sticking.
- Damp or warm spots. Bathrooms, walls above radiators and areas in strong sun shorten the life of the adhesive and can leave it harder to remove.
Test a hidden patch first
Stick a strip about 4 in (10 cm) long somewhere out of sight: behind a door, inside a closet or low behind furniture. Press it down firmly and leave it for a few days. Then peel it back slowly at a low angle, almost folded over on itself.
If the paint is unmarked and the tape stayed flat the whole time, the wall is a reasonable candidate. If the strip dropped off, the surface is too textured or dusty. If paint came with it, choose a different wall or put the design on a large sheet of poster board instead. A short test still cannot tell you how a strip will behave after a year, so plan wall designs as seasonal rather than long-term.
What you need
- Washi tape, 15 mm or wider. Wide tapes of 20 to 30 mm read better from across a room. Check the label for roll length and buy enough of one print to finish the design.
- A soft pencil and an eraser
- A small spirit level and a tape measure or long ruler
- Scissors
- A dry microfiber cloth
How to apply long strips to a wall
- Clean and dry the wall. Wipe away dust with a dry cloth. If you use a damp one, let the wall dry fully before taping.
- Mark the design. Use the level and light pencil ticks at the start, end and corners of each line. Ticks are easier to hide than full lines.
- Anchor one end. Press the first 1 in (2.5 cm) of tape onto the starting mark.
- Unroll toward the next mark. Hold the roll a short distance off the wall, keep the tape slack, sight it against your marks, and smooth it down with the other hand as you go. Do not pull it tight: stretched tape creeps back and lifts.
- Join by overlapping. If a roll runs out, overlap the new strip by about 1/2 in (1.3 cm), matching the pattern where you can.
- Cut with scissors. Lift the end slightly, snip, and press it back. A craft knife on the wall scores the paint and the plaster beneath.
- Burnish. Run a fingertip or a soft cloth along the full length, with extra pressure on ends and overlaps.

Tip
For neat angled corners, overlap the two strips, then cut each end to the angle with scissors before pressing it flat. Pointed ends hide small errors better than square ones.
Four designs built from straight lines
Mountain line
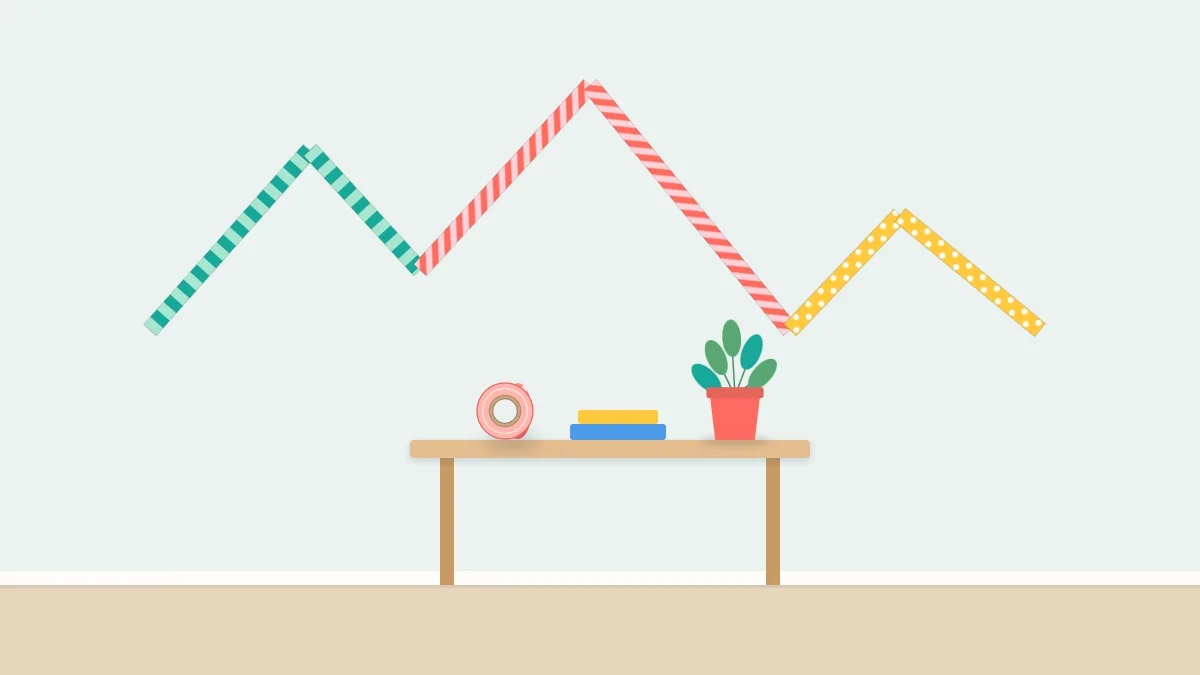
Mark a row of peaks and valleys at uneven heights across a width of about 3 to 5 ft (roughly 1 to 1.5 m), then connect them with single strips. Add a second, lower range in a paler tape behind the first for depth. For denser patterns such as chevrons or diamonds, the proportions in the guide to geometric tape patterns scale up to wall size.
Faux headboard outline
Measure the width of the bed and mark a rectangle slightly wider, rising about 2 to 3 ft (60 to 90 cm) above the mattress. Outline it with wide tape. A second outline a few inches inside the first, or two clipped top corners, gives it a paneled look.
Grid for a photo wall
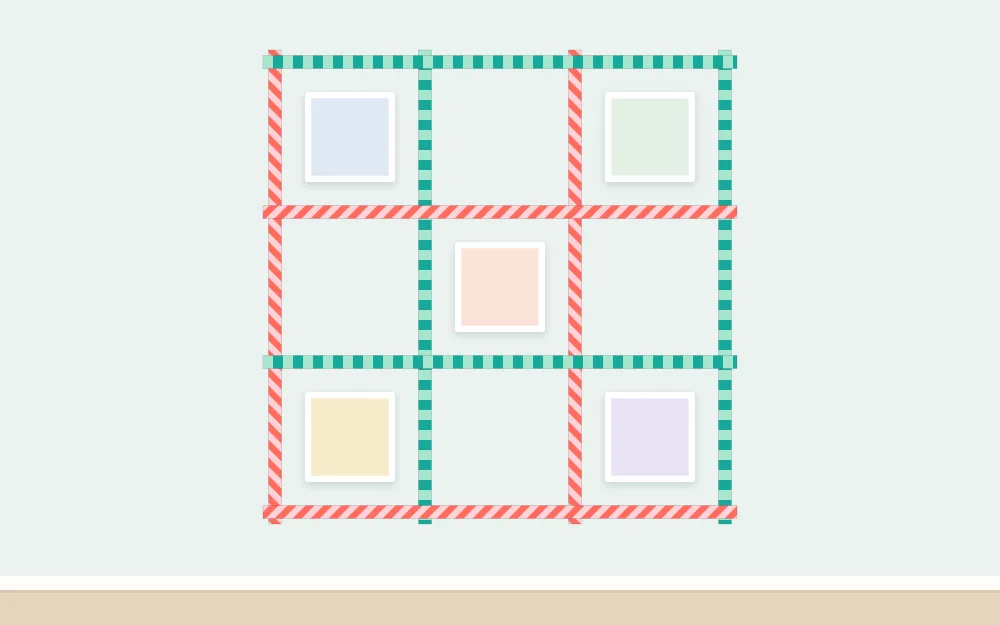
Mark a three-by-three grid of equal squares, each large enough for a print with a margin around it. Tape the horizontal lines first, then the verticals over them. Fix each print with removable mounting putty in the middle of its square: washi does not hold weight, and even light prints taped only at the corners tend to curl and drop.
Door or shelf outline
Run a single border around a plain door panel, or draw a house-shaped outline on the wall behind a small shelf or a child’s desk. Short lines like these use little tape and are quick to change with the season.
Tape frames around prints
A rectangle of tape around a single print acts as a frame without a nail. Single, double and corner-only styles each need slightly different measuring, and the tutorial on washi tape picture frames walks through them along with covering a real frame.
Taking the design down
Lift one end with a fingernail and peel slowly, keeping the tape low and close to the wall instead of pulling it straight out. Stop if you feel resistance or see the paint surface move, and continue more slowly from the other end.
Tape that has been up through a hot summer or in a sunny spot may cling harder or leave a faint tacky line. Fixes for residue, lifting edges and strips that will not stay up are collected in the page on common washi tape problems.
Frequently asked questions
How long can washi tape stay on a wall?
There is no fixed limit. On smooth, sound paint in a cool, dry room it can stay flat for months, while heat, sunlight, humidity and dust shorten that. The longer tape stays up, the less predictable removal becomes, so treat wall designs as temporary and check an end from time to time.
Does washi tape work on textured walls?
Not well. On orange-peel, knockdown or rough plaster finishes the tape only touches the raised points, so it loosens and falls, often within days. A smooth door, a mirror frame, the side of a wardrobe or a sheet of poster board fixed with removable putty are better surfaces for the same design.
Can washi tape hold posters or photos on a wall?
Only very light paper for a short time, and even that tends to curl and drop. Washi is decorative and is not made to carry weight. Use removable mounting putty or another hanging method suited to your wall for the print, and add the tape as a border or frame around it.


