Washi Tape Planner Ideas: Marking Weeks, Events and Deadlines
Functional ways to use washi tape in a dated planner: block out multi-day events, color-code life areas, mark the current week, flag deadlines and move a priority strip from day to day.

A dated planner has very little spare room. Each day box is already a small space meant for writing, so tape that only decorates takes away the thing the page is for. The washi tape planner ideas below start from the opposite direction: every strip marks something, so you can find a trip, a deadline or the current week at a glance.
Why slim tape suits a planner
A standard 15 mm strip is taller than the writing line in most day boxes and can cover half of a monthly square. Slim tapes of about 3 to 7 mm sit along the top or bottom edge of a box and leave the rest free.
Choose solids or very fine patterns, since a color has to be recognizable from a strip a few millimeters high. Pale tapes are slightly translucent, so printed dates and grid lines stay visible underneath.
Tape also adds thickness, and a planner with a strip on every page bulges by the end of the year.
Block out trips and multi-day events
This is the use that pen cannot match. Run one slim strip across all the day boxes an event covers: three days at a conference, a week away, a relative’s visit. In a monthly grid, lay it along the bottom edge of the boxes so the date numbers at the top stay clear. In a weekly layout with columns, lay it across the top of the columns just under the day headings.
When an event wraps from one row of the month to the next, end the strip at the last box of the row and start a new one at the first box of the next row, in the same tape. Cut the ends square at the box borders so the start and end dates are clear.

Give each life area a color
A color code only works if it is small and fixed. Pick three to five areas, such as work, family, health, home and travel, and assign each one tape. Then use that tape and no other for that area all year.
Make a key on the inside cover or the first page: a short piece of each tape with the area written beside it on the paper. The guide to choosing tape colors that work together explains how to pick a set that is easy to tell apart.
| What to mark | Tape and placement | Layout |
|---|---|---|
| Trip or multi-day event | Slim strip across the day boxes | Monthly or weekly |
| Current week | Strip along the top of the spread | Weekly |
| Weekends | Pale wide strip as a shade | Monthly or weekly |
| Deadline | Folded flag on the page edge | Either |
| Top priority | Short strip moved day to day | Weekly |
Mark the current week and shade the weekend
A strip along the top margin of the current weekly spread makes the page easy to find when you flip through. If you prefer not to tape every spread, use one strip as a marker and move it forward each week; washi tape lifts and re-sticks several times on smooth planner paper before it loses its grip.
For weekends, a pale tape works as a highlighter. In a monthly grid, run a wide pale strip down the Saturday and Sunday columns, or place a short piece across the top of each weekend box. In a weekly layout, a strip under the Saturday and Sunday headings does the job.
Flag deadlines on the page edge
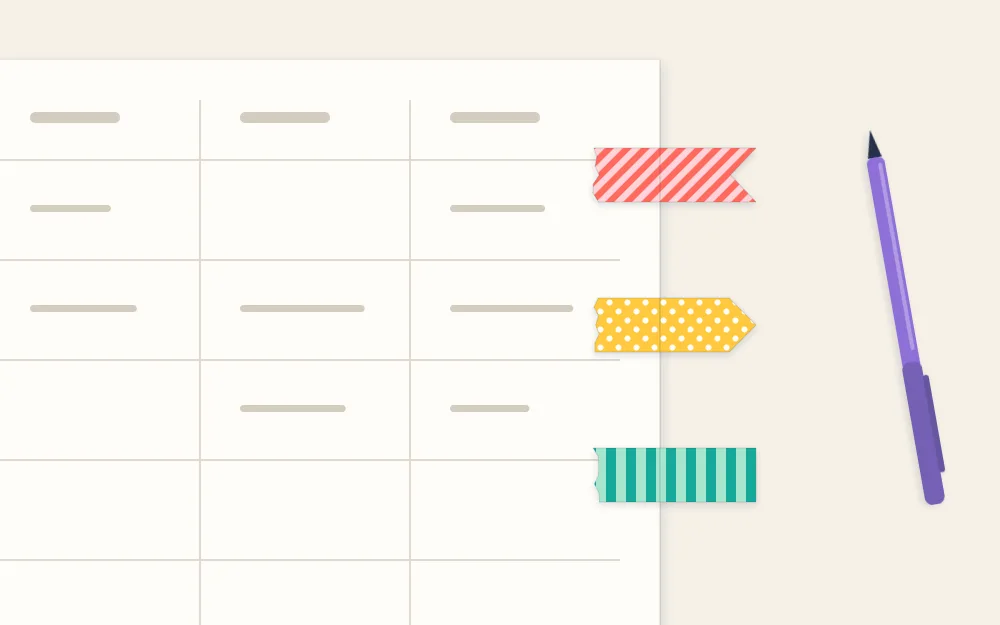
A deadline deserves to be visible even when the planner is closed. Cut a piece of tape about 1 1/4 in (3 cm) long. Stick half of it to the front of the page at the outer edge, level with the deadline’s row, and fold the rest around to the back of the page, leaving about 1/4 in (6 mm) sticking out past the edge with its two sticky sides pressed together.
That small flag shows as a colored tick on the closed book. Use one strong color for deadlines only. Sturdier tabs for whole sections are a different build, covered in the guide to making page tabs and dividers from tape.
Tip
When a deadline has passed, peel the flag off slowly and at a low angle. Planner paper is often thin, and a fast pull can lift the surface of the page.
A priority strip that moves
Cut one short strip, about 1 in (2.5 cm), and fold a tiny corner of one end back on itself to make a non-sticky pull tab. Place it beside the single task that matters most today. If the task is not done, lift the strip and move it to tomorrow’s box.
Replace the strip when it stops gripping.
Cover a cancelled plan and mark the month
Crossed-out entries clutter a small box. A strip of patterned tape laid over a cancelled plan hides it. If the new plan has to go in the same spot, cover the old entry with a pale solid tape and write on that with a permanent fine marker. Dark ink can show faintly through pale tape, and a second layer solves that.
To jump straight to a month, wrap a short strip around the outer edge of its first page, half on the front and half on the back, with no overhang. Place January’s strip near the top of the edge and each following month a little lower. On the closed planner the strips form a stepped line of color.
Keep the writing legible
- Write on the paper where you can. Place tape along the edge of a box and keep the center for pen or pencil.
- Use the right pen on tape. A permanent fine marker with oil- or alcohol-based ink dries on the matte surface. Water-based and gel inks tend to bead or smear, and pencil barely shows.
- Let ink dry before closing the planner. Give it a few seconds, or the facing page picks up a mirror image.
- Keep tape out of the binding. Strips that run into the gutter or over ring holes wrinkle and stop pages from turning.
For header banners, pockets, photo corners and other page decoration, see the list of ways to use washi tape on a journal page, which has more open space than a dated planner does.
Frequently asked questions
What width of washi tape is right for a planner?
Slim tape of about 3 to 7 mm fits most day boxes without covering the writing space. Standard 15 mm tape suits page-top markers, weekend shading and edge strips. A standard roll can also be cut lengthwise into narrow strips on non-stick backing paper with a craft knife, a ruler and a cutting mat.
Can you write on washi tape in a planner?
Yes, with a permanent fine marker that uses oil- or alcohol-based ink, and a few seconds of drying time before the planner is closed. Water-based pens and gel inks usually bead or smear on the tape surface. Where possible, keep the tape at the edge of the box and write on the paper.
Will washi tape damage planner pages when removed?
It usually lifts cleanly from smooth paper, but thin planner pages can tear or lose their surface if tape is pulled quickly. Peel slowly, keeping the strip folded back close to the page at a low angle. Tape that has been pressed hard or left in place for many months needs extra care.


